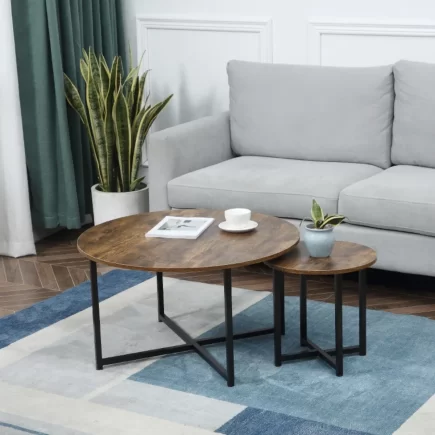
An Acacia Wood Bar Table is more than just a functional piece of furniture; it’s a stylish centerpiece that elevates your living space. Whether you’re adding this elegant table to your home or assembling it yourself, this guide will walk you through each step of the process. With simple instructions and tips, you’ll have your table ready for use in no time while also learning how to maintain its beauty and durability for years to come.

Tools and Parts
Before you begin, check that you have all the required parts:
Parts Acacia Wood Bar Table:
- Table Top (A) – 1
- Legs (B) – 4

Hardware:
- J Bolts (M8x20mm) – 13
- Flat Washers (M8.5/20x2mm) – 13
- Allen Wrench (L) – 1

Ensure all parts are present before beginning assembly.
Step-by-Step Assembly Instructions
Step 1: Preparation
Unpack all the components and lay them out on a clean, non-marring surface. This helps prevent any scratches or damage during assembly. Ensure you have a clear workspace to work in. Familiarize yourself with the parts, referring to the provided diagram to understand their layout. This step will make the assembly process easier and more efficient.

Step 2: Position the Table Top
Start by laying the Table Top (A) face down on a flat, clean surface. This positioning will help protect the acacia wood from potential scratches or damage during the assembly process.

Step 3: Attach the Legs
Now it’s time to attach the legs:
- Take one of the Legs (B) and insert it into the pre-drilled holes on the Table Top (A).
- For each leg, place a Flat Washer (②) and a J Bolt (①) onto the holes as shown in the diagram.
- Use the Allen Wrench (③) to tighten the bolt into place. Do not fully tighten yet, as you may need to adjust the legs for alignment later.
- Repeat this process for the remaining three legs.

At this stage, do not tighten the bolts completely. Keeping the bolts loose allows for easier adjustments when the table is flipped upright.
Step 4: Secure the Legs
- With assistance from another person, carefully flip the table to its upright position. This may require two people to avoid damaging the table or causing injury.
- Apply gentle downward pressure on the Table Top (A) to align the legs and ensure they are correctly positioned.
- Once the legs are aligned properly, check the table for any wobbling. Gently shake the table to ensure stability. If there is any wobble, adjust the alignment before tightening the bolts.
- Gradually tighten each bolt one by one. Start from one corner and move around the table to ensure even tightening. This helps prevent any stress on the wood or legs.

Final Check
Once the table is fully assembled and secured, double-check the following:
- Make sure the table is placed on a flat, level surface.
- Verify that all bolts are properly tightened and that no parts are loose.
- Ensure the table is stable with no wobbling. Gently shake it to confirm this.
Care and Maintenance Tips
Your Acacia Wood Bar Table is designed to last, but it will require some care and maintenance to ensure it remains beautiful and functional over time.
Cleaning:
Wipe the table regularly with a soft, damp cloth to remove dust and dirt. Avoid using harsh chemicals or abrasive cleaning tools, as they can damage the wood’s finish.
Wood Care:
To maintain the luster and appearance of the acacia wood, periodically apply wood polish or furniture wax. Always follow the manufacturer’s instructions for the care product to prevent any damage to the surface.
Avoid Excessive Weight:
While this table is built to withstand everyday use, avoid placing excessive weight on it. Too much weight could lead to damage over time. Keep heavy items off the surface to preserve its strength.
Heat and Moisture Protection:
Protect the table from heat and moisture by using coasters, placemats, or trivets. Hot dishes or cups can leave marks or cause damage to the wood, so it’s important to use protective items on the surface.
Assembling your Acacia Wood Bar Table is a straightforward process when following these step-by-step instructions. By ensuring proper alignment and tightening each bolt evenly, you’ll create a sturdy and stable piece of furniture that will enhance your space for years to come. With regular care and maintenance, this table will maintain its elegance and durability, continuing to serve as a stylish focal point in your home.
You can also download the Acacia Wood Bar Table Manual(PDF) for future reference.
FAQs
1. What should I do if one of the legs feels slightly shorter and the table rocks?
Place the table on the flattest surface you have and check each leg contact point. If the rocking is minor, use discreet furniture pads under the shorter leg to stabilise it. If the height difference is significant, recheck the leg installation and hardware before contacting customer support.
2. The bolts of the bar table keep loosening after a few days of use. How can I fix this?
Wood can settle slightly after the first few uses, which may loosen hardware. Go around the table and re-tighten each bolt gradually, not just the loose one. If it keeps happening, consider adding a non-permanent thread locker to the bolts to hold them in place.
3. I scratched the tabletop during use. How can I minimise the mark?
Lightly clean the area with a soft damp cloth and let it dry. For surface-level scratches, use a matching wood repair marker or wax stick and gently blend it in. Finish by lightly buffing with a soft cloth to restore some of the sheen.


